If you want to produce polished videos quickly, FlexClip Auto Edit is the kind of shortcut that changes the game. FlexClip Auto Edit packs intelligent automation into a few simple choices: upload media, pick a language and aspect ratio, add a short description, and let the system craft an edit.
The result is a ready-to-refine video that saves hours of manual trimming, timing, and layout work.
In this guide I walk you through a complete, practical workflow for producing high-quality videos using FlexClip Auto Edit.
You will learn how to prepare media, make the right selections, review the AI-generated edits, customize all the elements, and polish the final piece for publishing. I will also share tips and troubleshooting advice so you can get consistent results no matter your experience level.
Why use FlexClip Auto Edit?
FlexClip Auto Edit leverages artificial intelligence to automate many of the repetitive tasks in video editing. That means faster turnaround times, fewer technical decisions to worry about, and a consistent baseline quality that you can then personalize.
Whether you are producing social posts, quick tutorials, product highlights, or simple promotional clips, FlexClip Auto Edit gives you a professional starting point.
Key benefits of FlexClip Auto Edit include speed, simplicity, and a modular output you can tweak. Instead of building every scene from scratch, you guide the tool with a few high-level preferences.
The AI then proposes an edited timeline, suggested titles, on-screen text, backgrounds, music, elements, and animations. From there you can refine the video to match your brand or storytelling goals.
Quick overview: The workflow in a nutshell
The complete process with FlexClip Auto Edit follows a straightforward sequence. Here is the condensed workflow that we will unpack in detail below.
- Log into your account.
- Upload images and video clips you want to use.
- Choose content language and aspect ratio.
- Optionally add a short description of the theme or message.
- Click generate and let the AI create the edit.
- Review and adjust the generated title, text, background, music, elements, and animations.
- Export or save the final video.
Step 1: Log in and set up your project
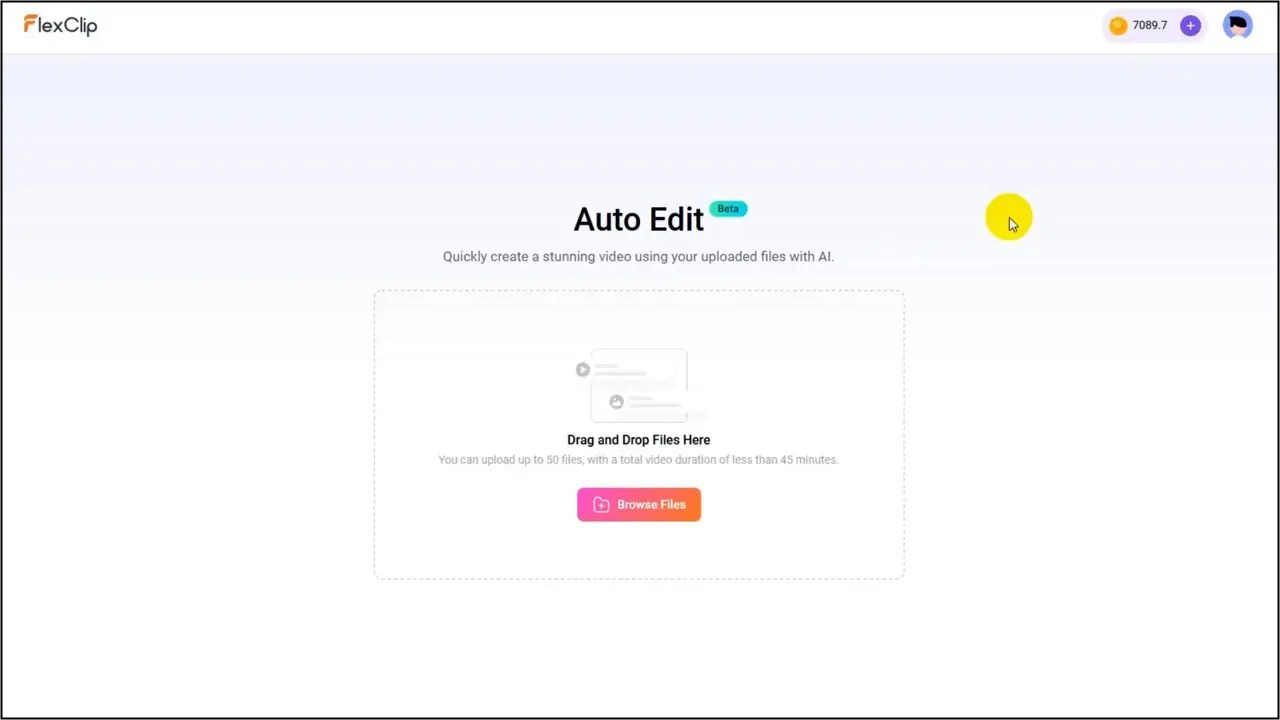
Start by signing into your account. The interface is designed to be accessible, so you will find the Auto Edit option in the main menu. Choosing the right account plan can affect available assets such as music, stock footage, and export resolution, so verify your plan before you begin if you need certain features. Once you are logged in you will be ready to upload your media.
Step 2: Upload images and video clips
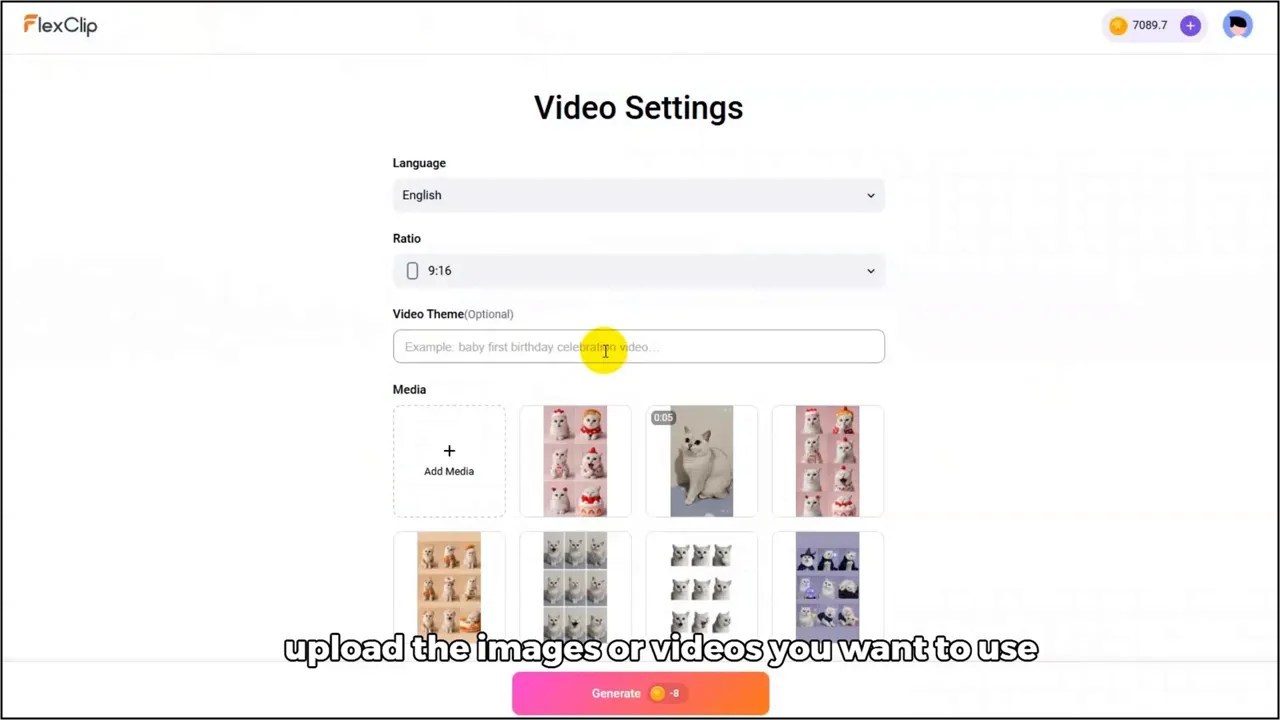
FlexClip Auto Edit accepts images and video clips. The quality and relevance of your source media directly determine how polished the automated edit will be. Follow these best practices when preparing uploads:
- Use high-resolution images and clips to avoid pixelation when exporting in high-definition.
- Trim or remove any unusable footage in advance to reduce unnecessary options for the AI.
- Organize your media by story order or theme to make it easier to preview the generated edit and refine it later.
- Include a variety of shots: close-ups for details, wide shots for context, and medium shots for transitions.
Once uploaded, the tool will analyze the media assets to construct a coherent sequence. The AI looks at visual content, duration, and potential focal points to determine scene composition and pacing.
Step 3: Choose language and aspect ratio
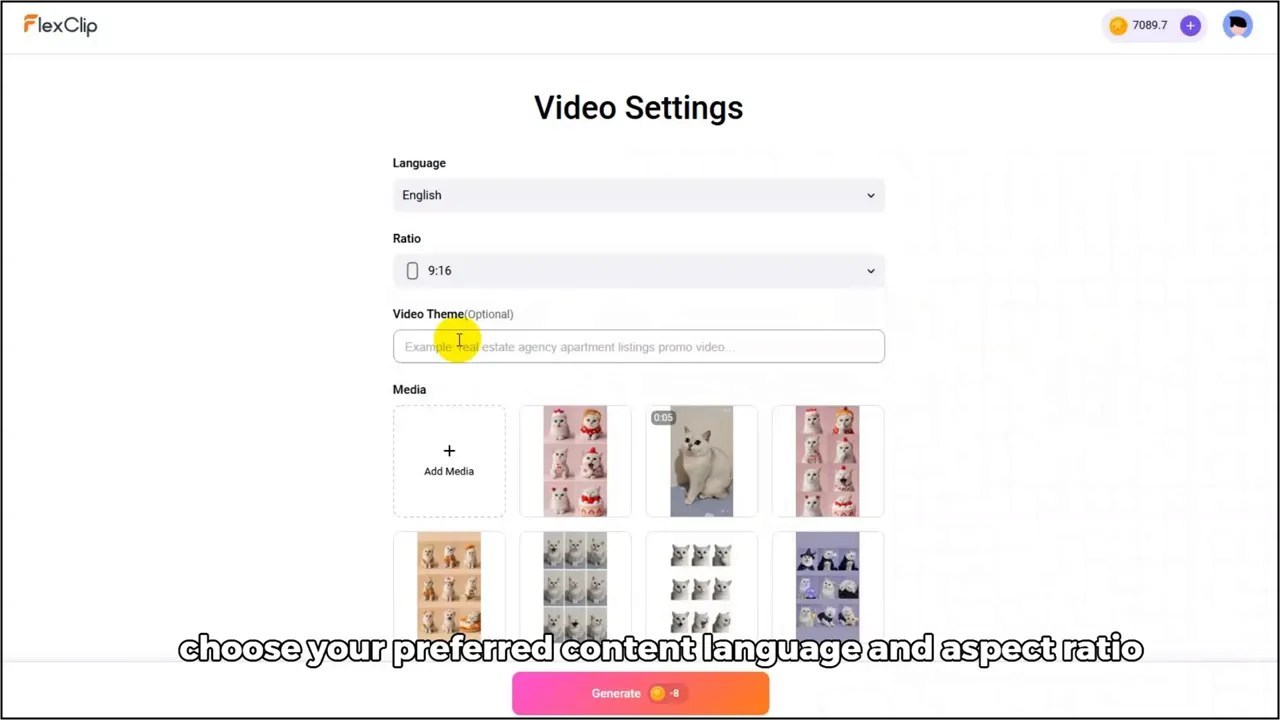
Two quick selections that have an outsized effect on the final product are the content language and the aspect ratio. The content language setting helps the AI choose appropriate on-screen text, suggested titles, and voice-over or subtitle logic if applicable. Choose the language that matches your audience for accurate text generation and a better viewing experience.
The aspect ratio determines how your video will be framed. Different platforms favor different aspect ratios:
- 16:9 is ideal for YouTube and desktop playback.
- 9:16 is optimized for vertical platforms like TikTok and Instagram Reels.
- 1:1 is a solid option for Instagram feed posts and cross-platform compatibility.
Make the right choice here based on where you plan to post. If you want to repurpose content across platforms, export multiple versions in different aspect ratios after your final edit is complete.
Step 4: Add a short description or theme
Adding a brief description of your video theme helps the AI tailor the edit to your storytelling goals. This short prompt should be specific and focused. Example prompts:
- Product demo highlighting key features in under 60 seconds
- Event recap with upbeat music and fast pacing
- Educational how-to with clear step-by-step visuals
The description does not need to be long. A concise sentence or phrase will guide the AI’s selection of on-screen text, transitions, and music mood. Including keywords such as the product name, intended tone, or target audience will improve the relevance of the generated suggestions.
Step 5: Click generate and let the AI work
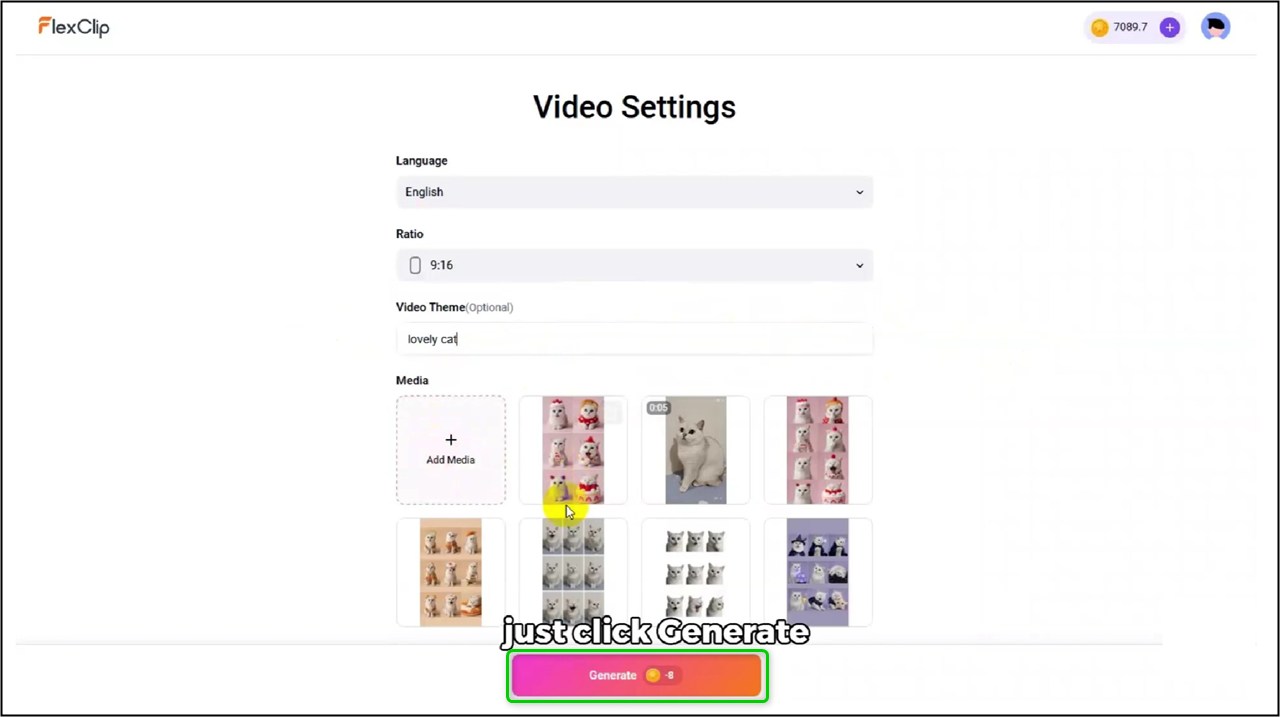
When you are ready, click generate. The AI will process your media and preferences and build a draft edit in a few minutes. The speed depends on the number and size of your assets and the complexity of your input, but the aim is fast turnaround so you can iterate quickly.
The generated output is a full edit that includes:
- AI generated title and on-screen text
- Background images or color choices
- Music selection and basic audio mixing
- Design elements such as icons, lower thirds, and overlays
- Animations and transitions
Think of this draft as a strong baseline. You are not locked into any choice. Everything is editable, and the goal is to reduce the time spent on assembly so you can spend more time on content and fine tuning.
Step 6: Review and customize every element
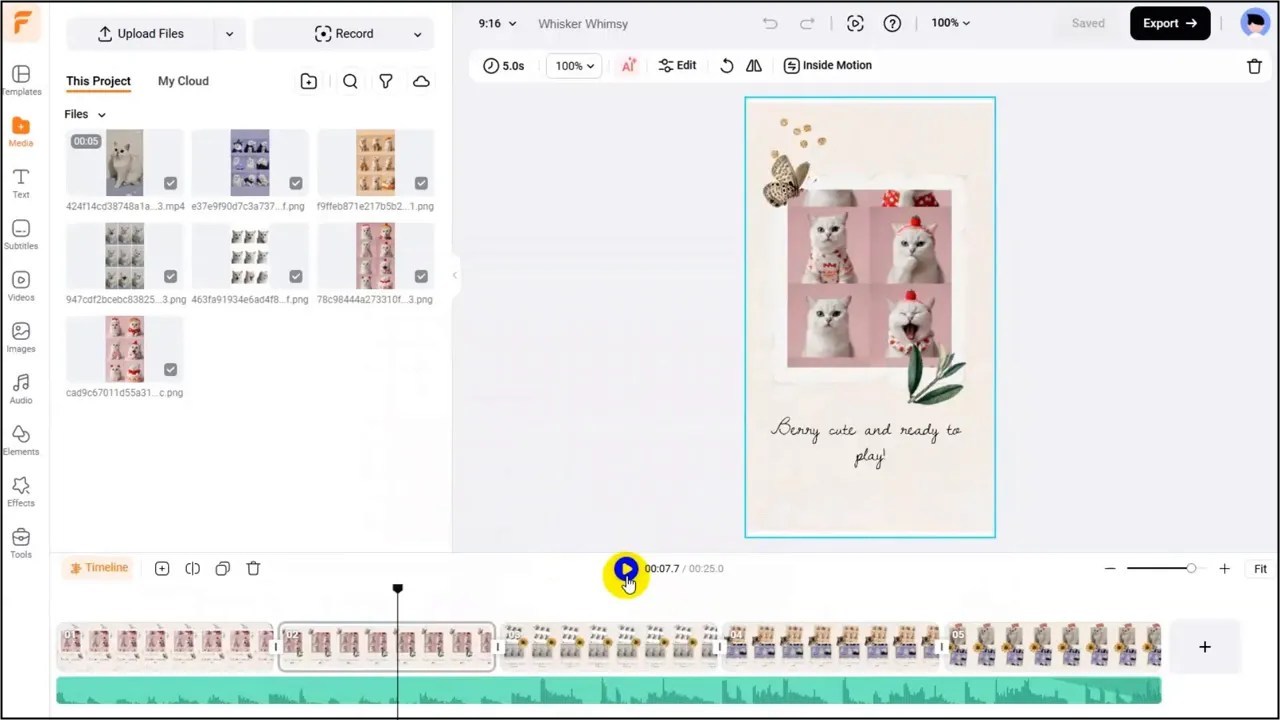
The real power of FlexClip Auto Edit lies in the combination of automation and control. The AI provides a comprehensive draft, and you retain the ability to modify each element. Here is a checklist for reviewing and refining the generated edit:
- Title and on-screen text: Ensure the language, capitalization, and phrasing match your brand voice. Edit for clarity and length so text aligns comfortably on the screen.
- Background and color choices: Replace or tweak backgrounds if they interfere with legibility or brand consistency.
- Music and audio levels: Change tracks, trim music, or adjust audio levels to prioritize speech or important sound cues.
- Elements and overlays: Modify icons, lower thirds, or callouts to fit the tone of the video.
- Animations and transitions: Slow down or simplify movement to match a professional look. Fast, flashy animations are not always appropriate for every subject.
- Timing and clip order: Make sure each scene has enough duration to convey the message without feeling rushed.
Editing these items is straightforward. Click any text box to rewrite copy, move elements on the canvas to adjust layout, and use the timeline controls to change clip duration. A few small changes often elevate the AI draft into a piece that feels bespoke.
Practical tips for customization
- Prioritize legibility. If on-screen text overlaps busy visuals, apply a subtle background box or reduce font weight.
- Match pacing to content. Fast cuts work for teaser clips, while informative tutorials benefit from longer, steadier shots.
- Keep branding consistent by setting brand colors and fonts early in the project settings or by updating them across the draft.
- Use music changes to mark transitions in the narrative, but avoid jarring jumps in volume or tempo.
Step 7: Final checks and export
Before exporting, perform a final quality check. Watch the video from start to finish and listen with headphones to make sure audio levels are consistent. Look for awkward text breaks, misaligned elements, or rushed segments that need additional trimming or extension.
Checklist: Launch-ready video
Before you publish, walk through this quick checklist to ensure the video meets expectations.
- Language and grammar checked for all titles and text
- Audio levels normalized and any voice-over clearly audible
- Aspect ratio and framing appropriate for target platform
- Call to action is clear and visible
- Brand colors, font, and logo applied consistently
- Exported format and resolution match platform requirements
Export options vary by plan, but common settings include resolution, file format, and frame rate. If you plan to publish on multiple platforms, export separate files optimized for each aspect ratio and platform requirements.
Troubleshooting and common pitfalls
Automated editing is powerful, but not infallible. When results feel off, here are the most common issues and fixes.
- Problem: Text overlaps important visual elements.
Fix: Edit the text box position, reduce font size, or add a semi-transparent background for contrast. - Problem: Music drowns out narration.
Fix: Adjust audio ducking, lower music volume, or choose a calmer track. - Problem: Clips are too short or too long.
Fix: Use the timeline to trim or extend segment durations and re-check pacing. - Problem: Generated title or text uses awkward phrasing.
Fix: Rewrite the text directly and apply the new copy across all scenes as needed.
Advanced techniques to get the most out of FlexClip Auto Edit
Once you are comfortable with the basics, use these advanced techniques to create more refined outputs.
Pre-edit your media
Do a lightweight pre-edit before uploading. Remove unusable footage and label files if the upload interface allows. This reduces the AI’s guesswork and often leads to a cleaner first draft.
Guide the AI with precise copy
The short description acts as a creative brief for the AI. Be explicit about tone, pacing, and objectives. If you want a calm instructional clip, say so. If you want a high-energy brand promo, include that language. Specific prompts yield better-aligned drafts.
Iterate quickly
Because FlexClip Auto Edit is fast, use iteration to your advantage. Generate a draft, make a set of changes, and then re-run the generation with a revised description or different media order to compare approaches. The rapid loop is one of the biggest productivity gains.
Examples of effective prompts for FlexClip Auto Edit
Here are several short descriptions you can try when using FlexClip Auto Edit. Each example is tailored to a different outcome.
- High-energy product teaser for social: “Fast-paced product teaser highlighting three main features, upbeat music, punchy text overlays, 30 seconds.”
- Clear instructional clip: “Step-by-step how-to for feature setup, calm background music, numbered text overlays, 90 seconds.”
- Event recap: “Event highlights montage with energetic transitions and upbeat music, include logo outro, 60 seconds.”
- Testimonial montage: “Customer stories compilation, inspirational background music, soft transitions, 2 minutes.”
Final Thoughts and best practices
FlexClip Auto Edit is a practical tool for creators who want to speed up production without sacrificing control. It does the heavy lifting of structuring and composing a video, while leaving the final creative choices in your hands.
Use the automated draft as a canvas to refine and brand, and remember that small manual adjustments often make the largest difference in perceived quality. Embrace the automation for assembly, and use your human judgment to guide the final creative decisions.
The tool reduces the time spent on assembly and lets you focus on the craft of storytelling, messaging, and design.
Ready to start? Use the steps above to plan your next clip, prepare your media, and let FlexClip Auto Edit build the first draft. From there you can customize and polish until your video matches your vision.
See Also:
FlexClip AI Recreate: Step-by-Step Guide to Recreating Template Videos with AI
FlexClip Review
Disclosure: We are reader-supported, and this article may contain affiliate links.